Recently, there has been some mail theft in my neighborhood (yeah Seattle sucks sometimes). So I thought to myself, I need a way to notify me when my mail arrives. I though I should do something with my Raspberry Pi, or maybe there is something better I can do. So I did some Google searches and Boom, I found this.
A Mailbox Notifier using an Arduino clone (Moteino) [1].
http://lowpowerlab.com/blog/2013/03/01/mailboxnotifier-moteino-based-mail-event-notifier/
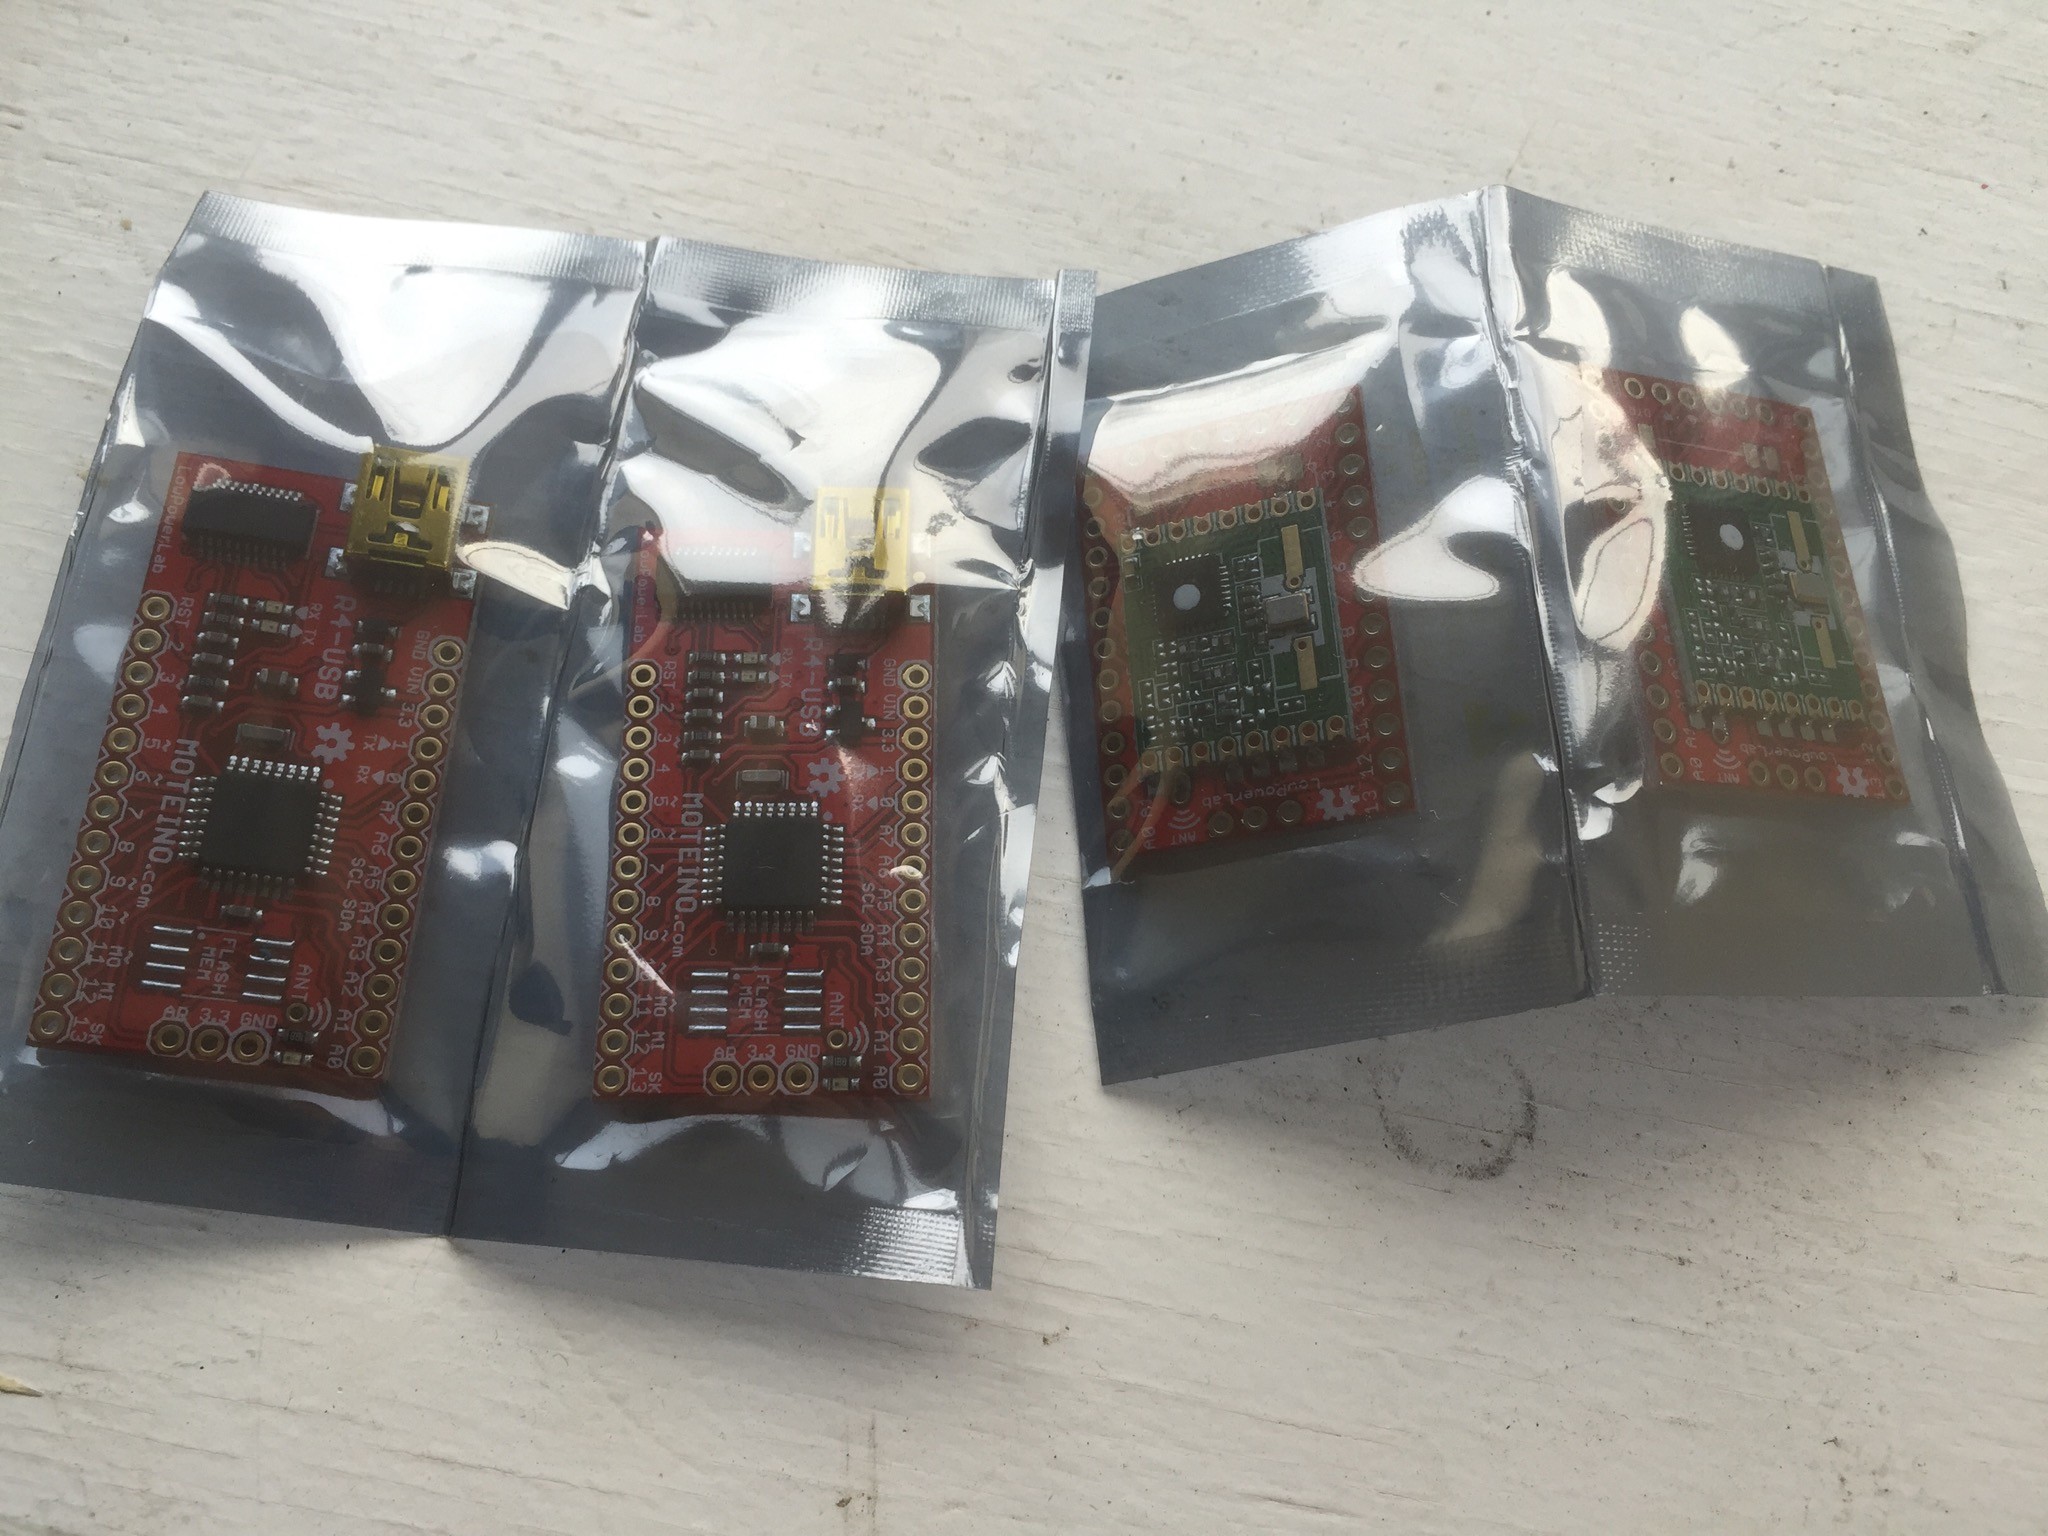
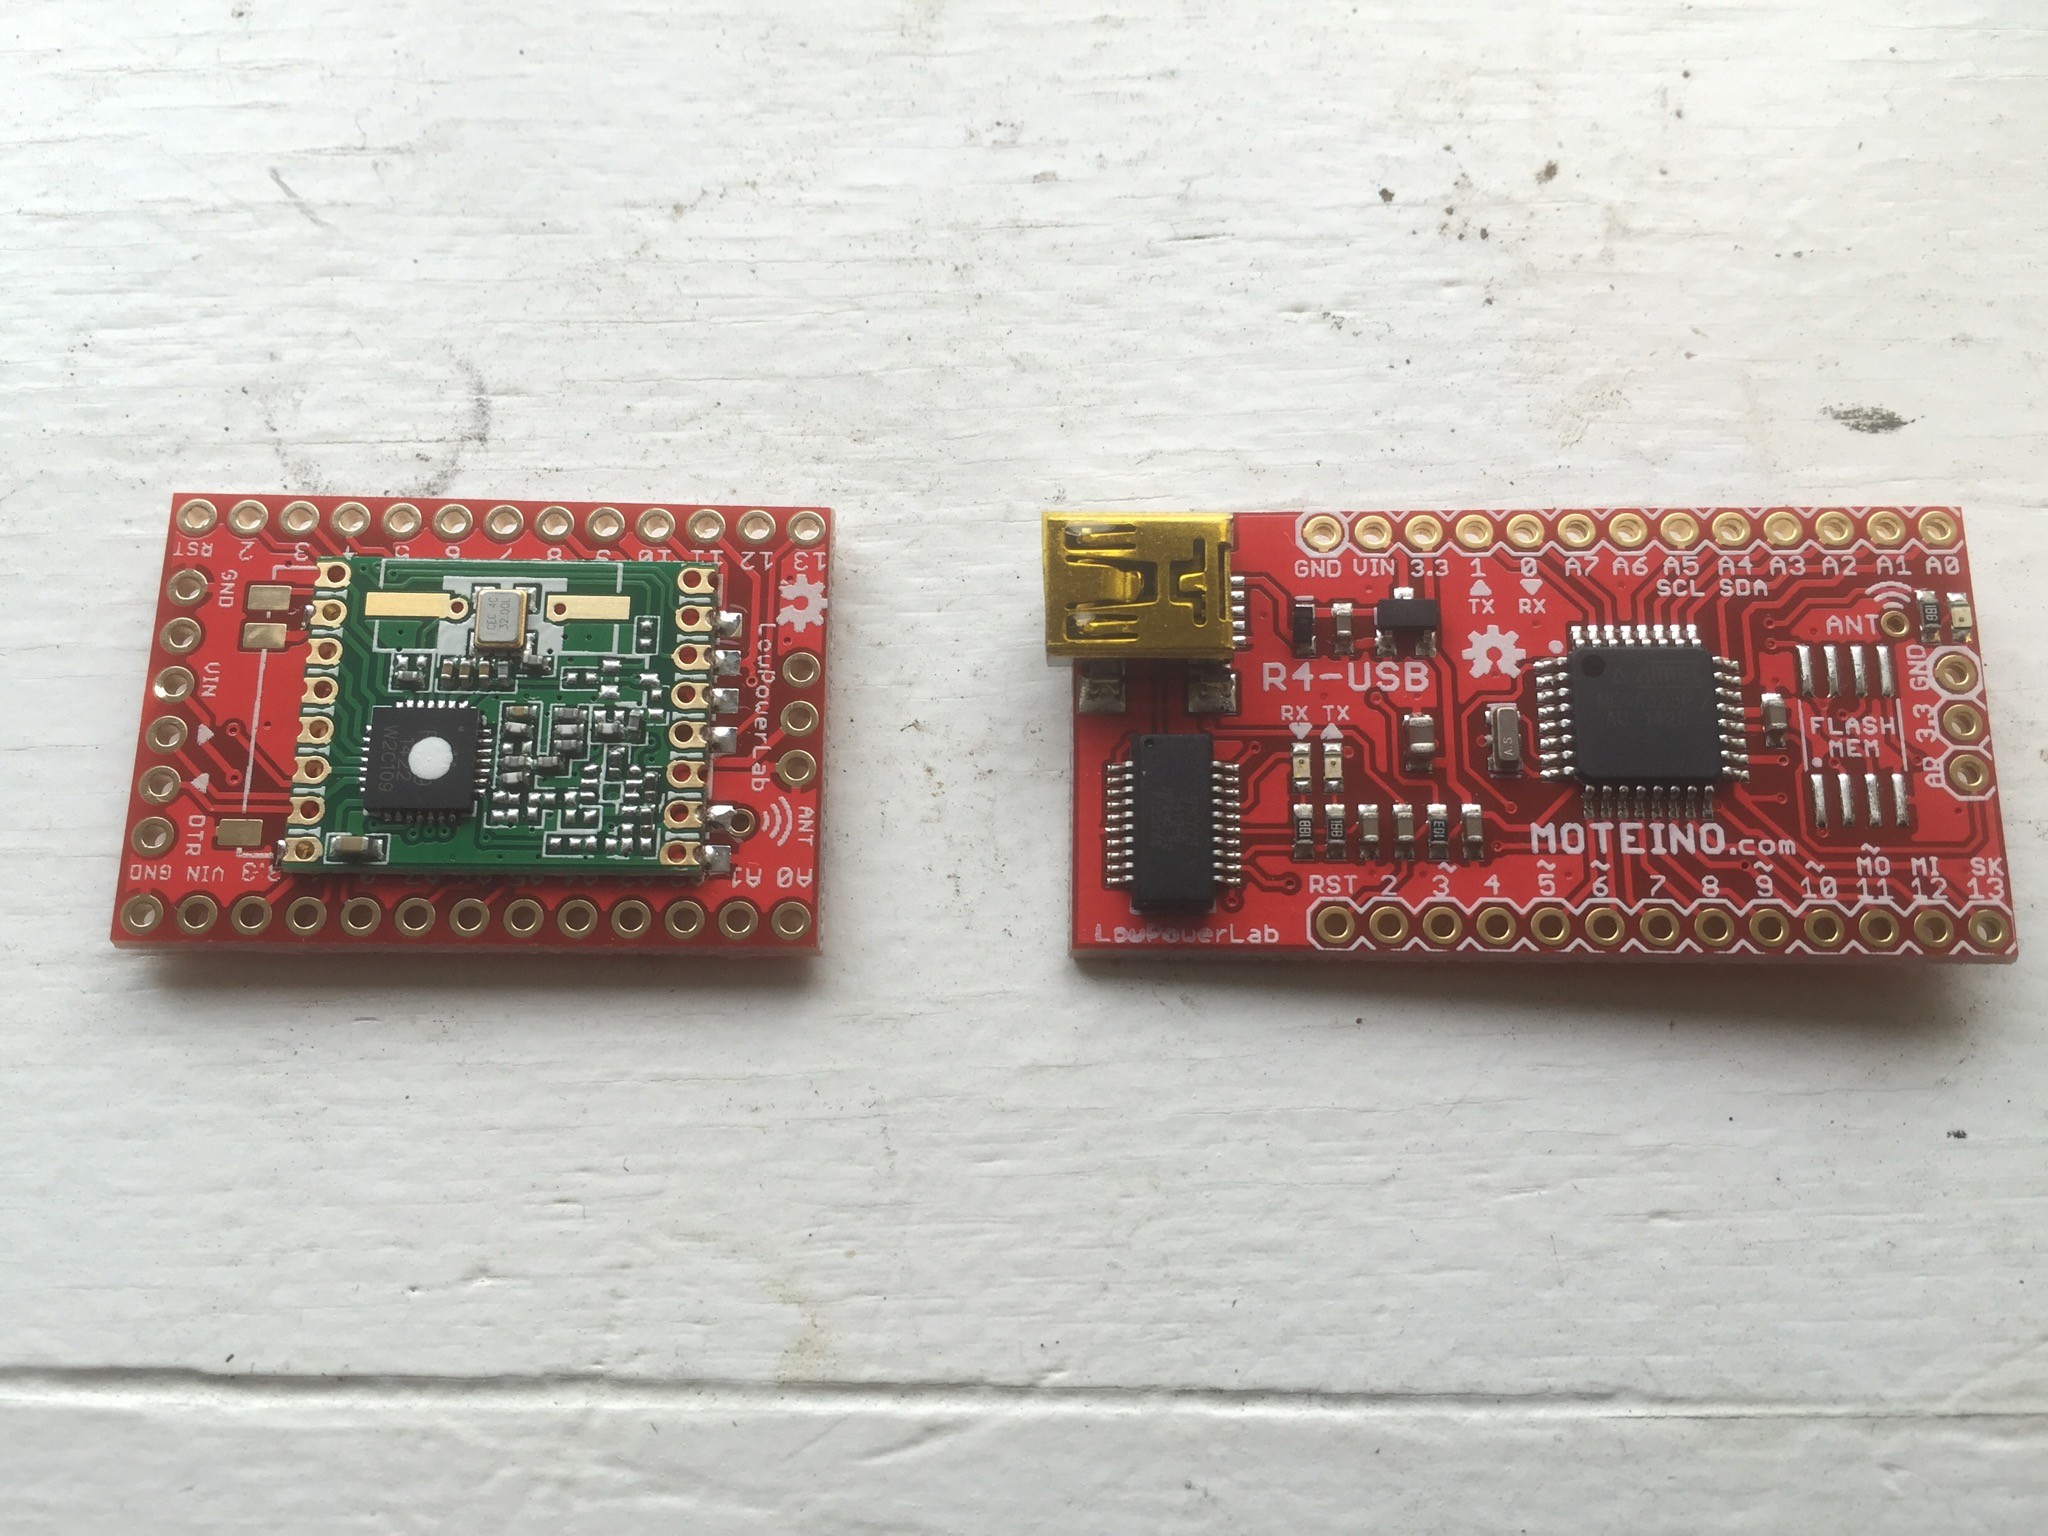
This solution uses a wireless serial connection to send information from the mailbox back to the gateway. It looked perfect so I decided to order few of these awesome and cheap Moteinos (an arduino clone).
After a few days they arrived.
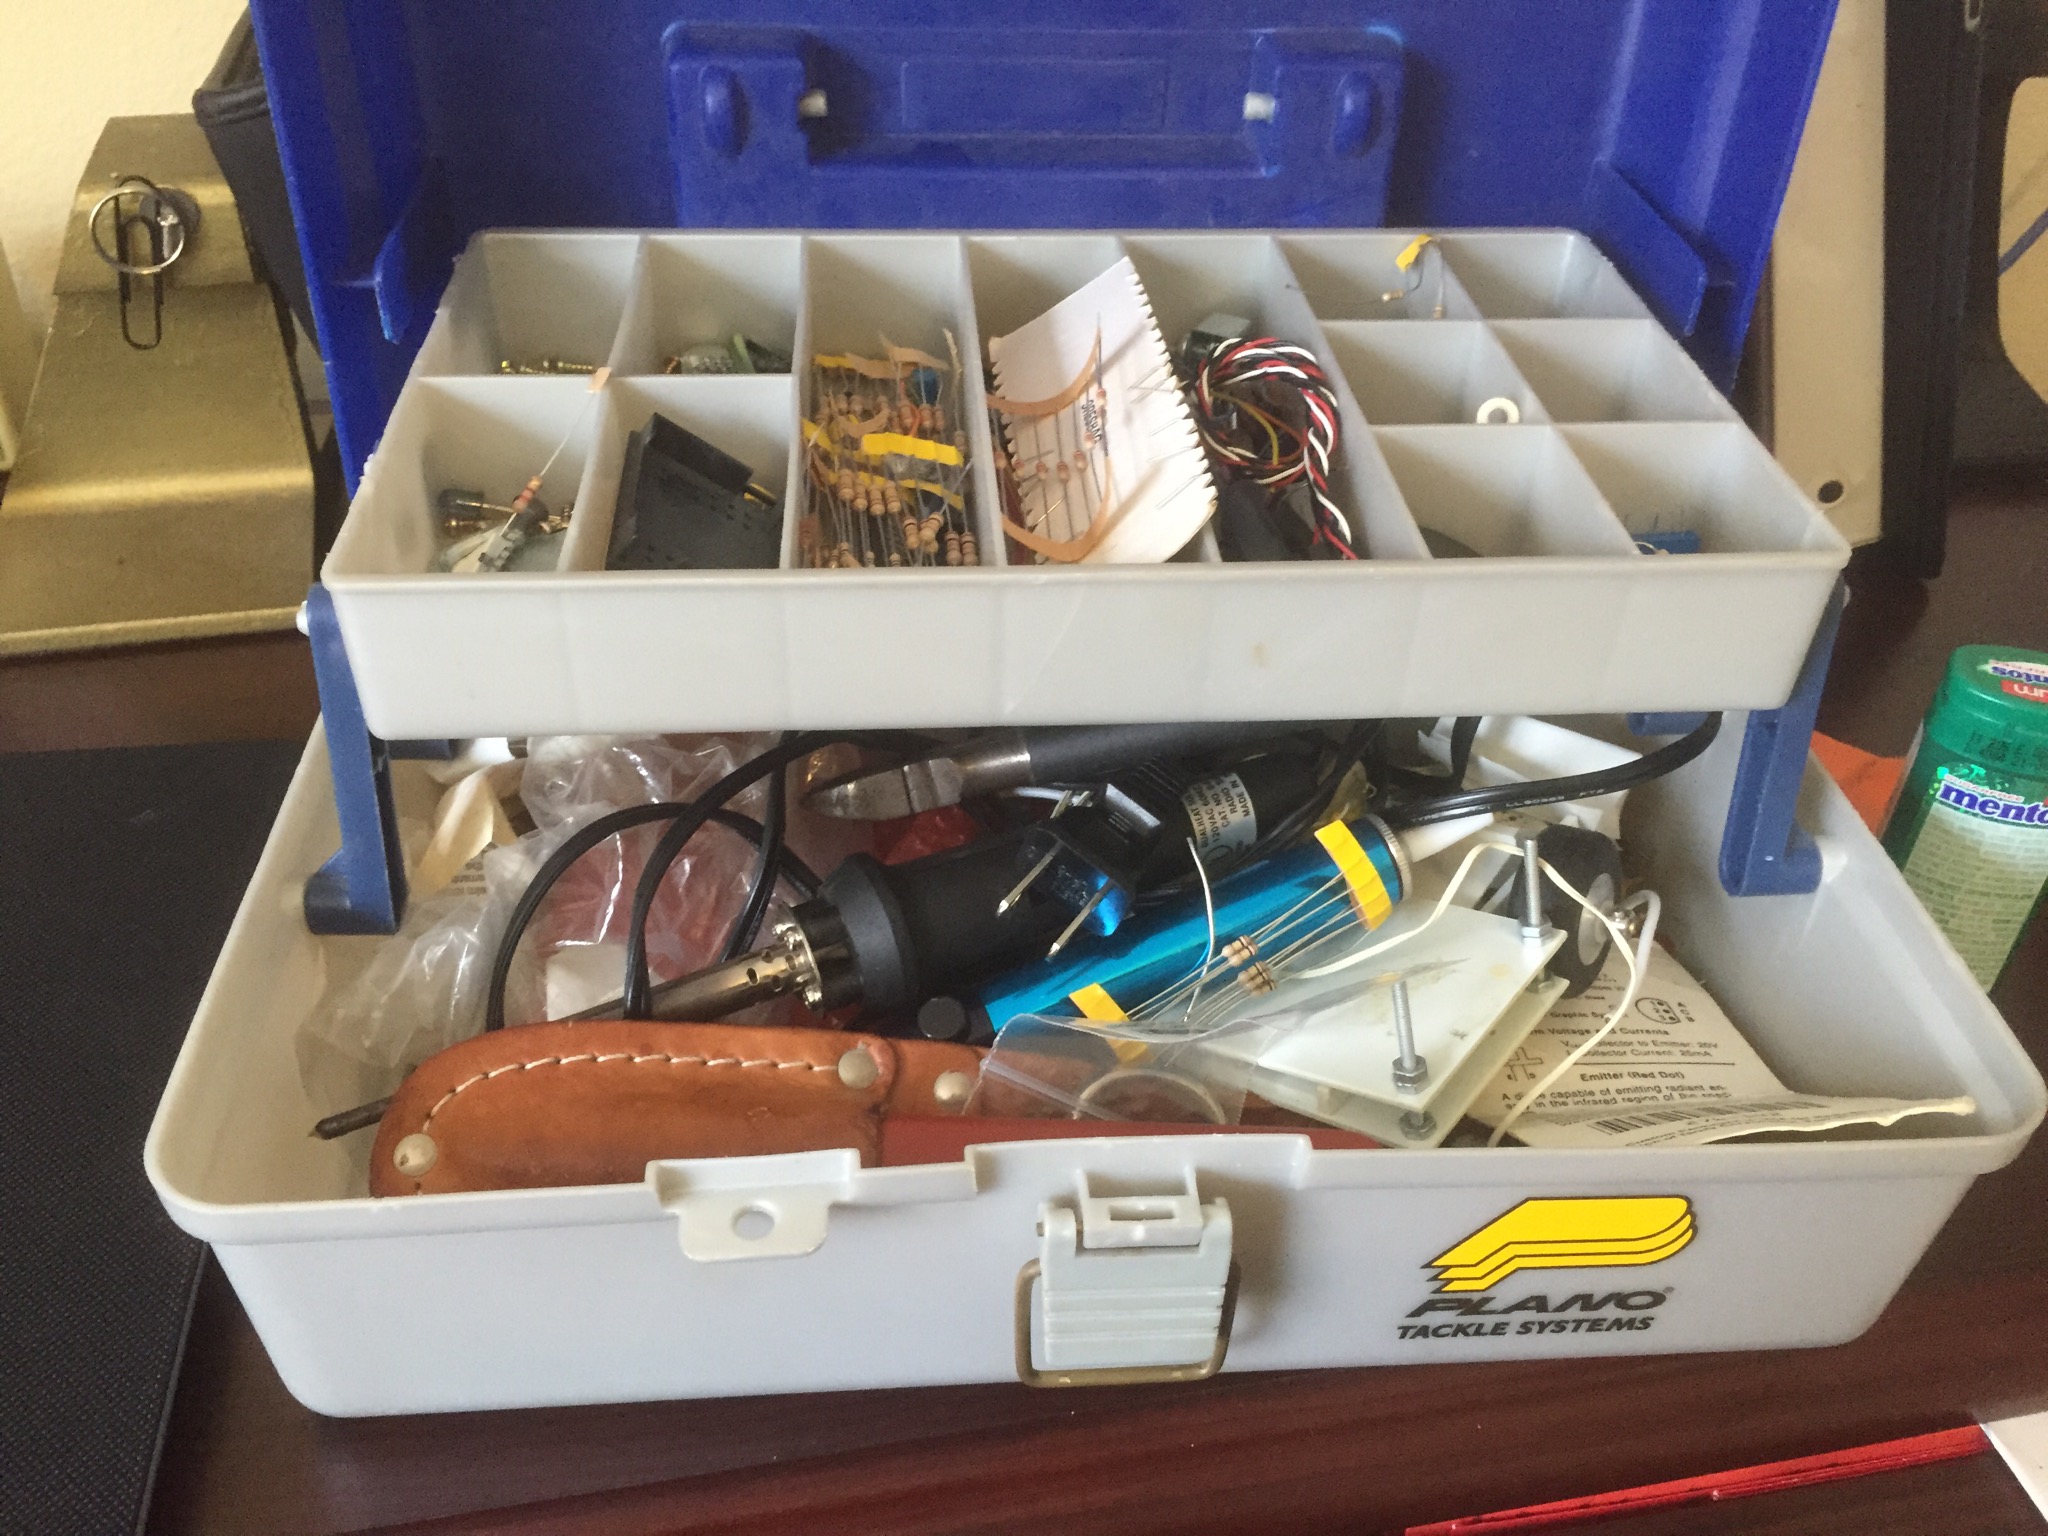
It’s been over 15 years since I last messed seriously with electronics. I went to my storage and dug up my old tackle box full of electronics components.
it still have a piece of my old EE junior lab project robot. See it is a vintage robot parts from 1998.
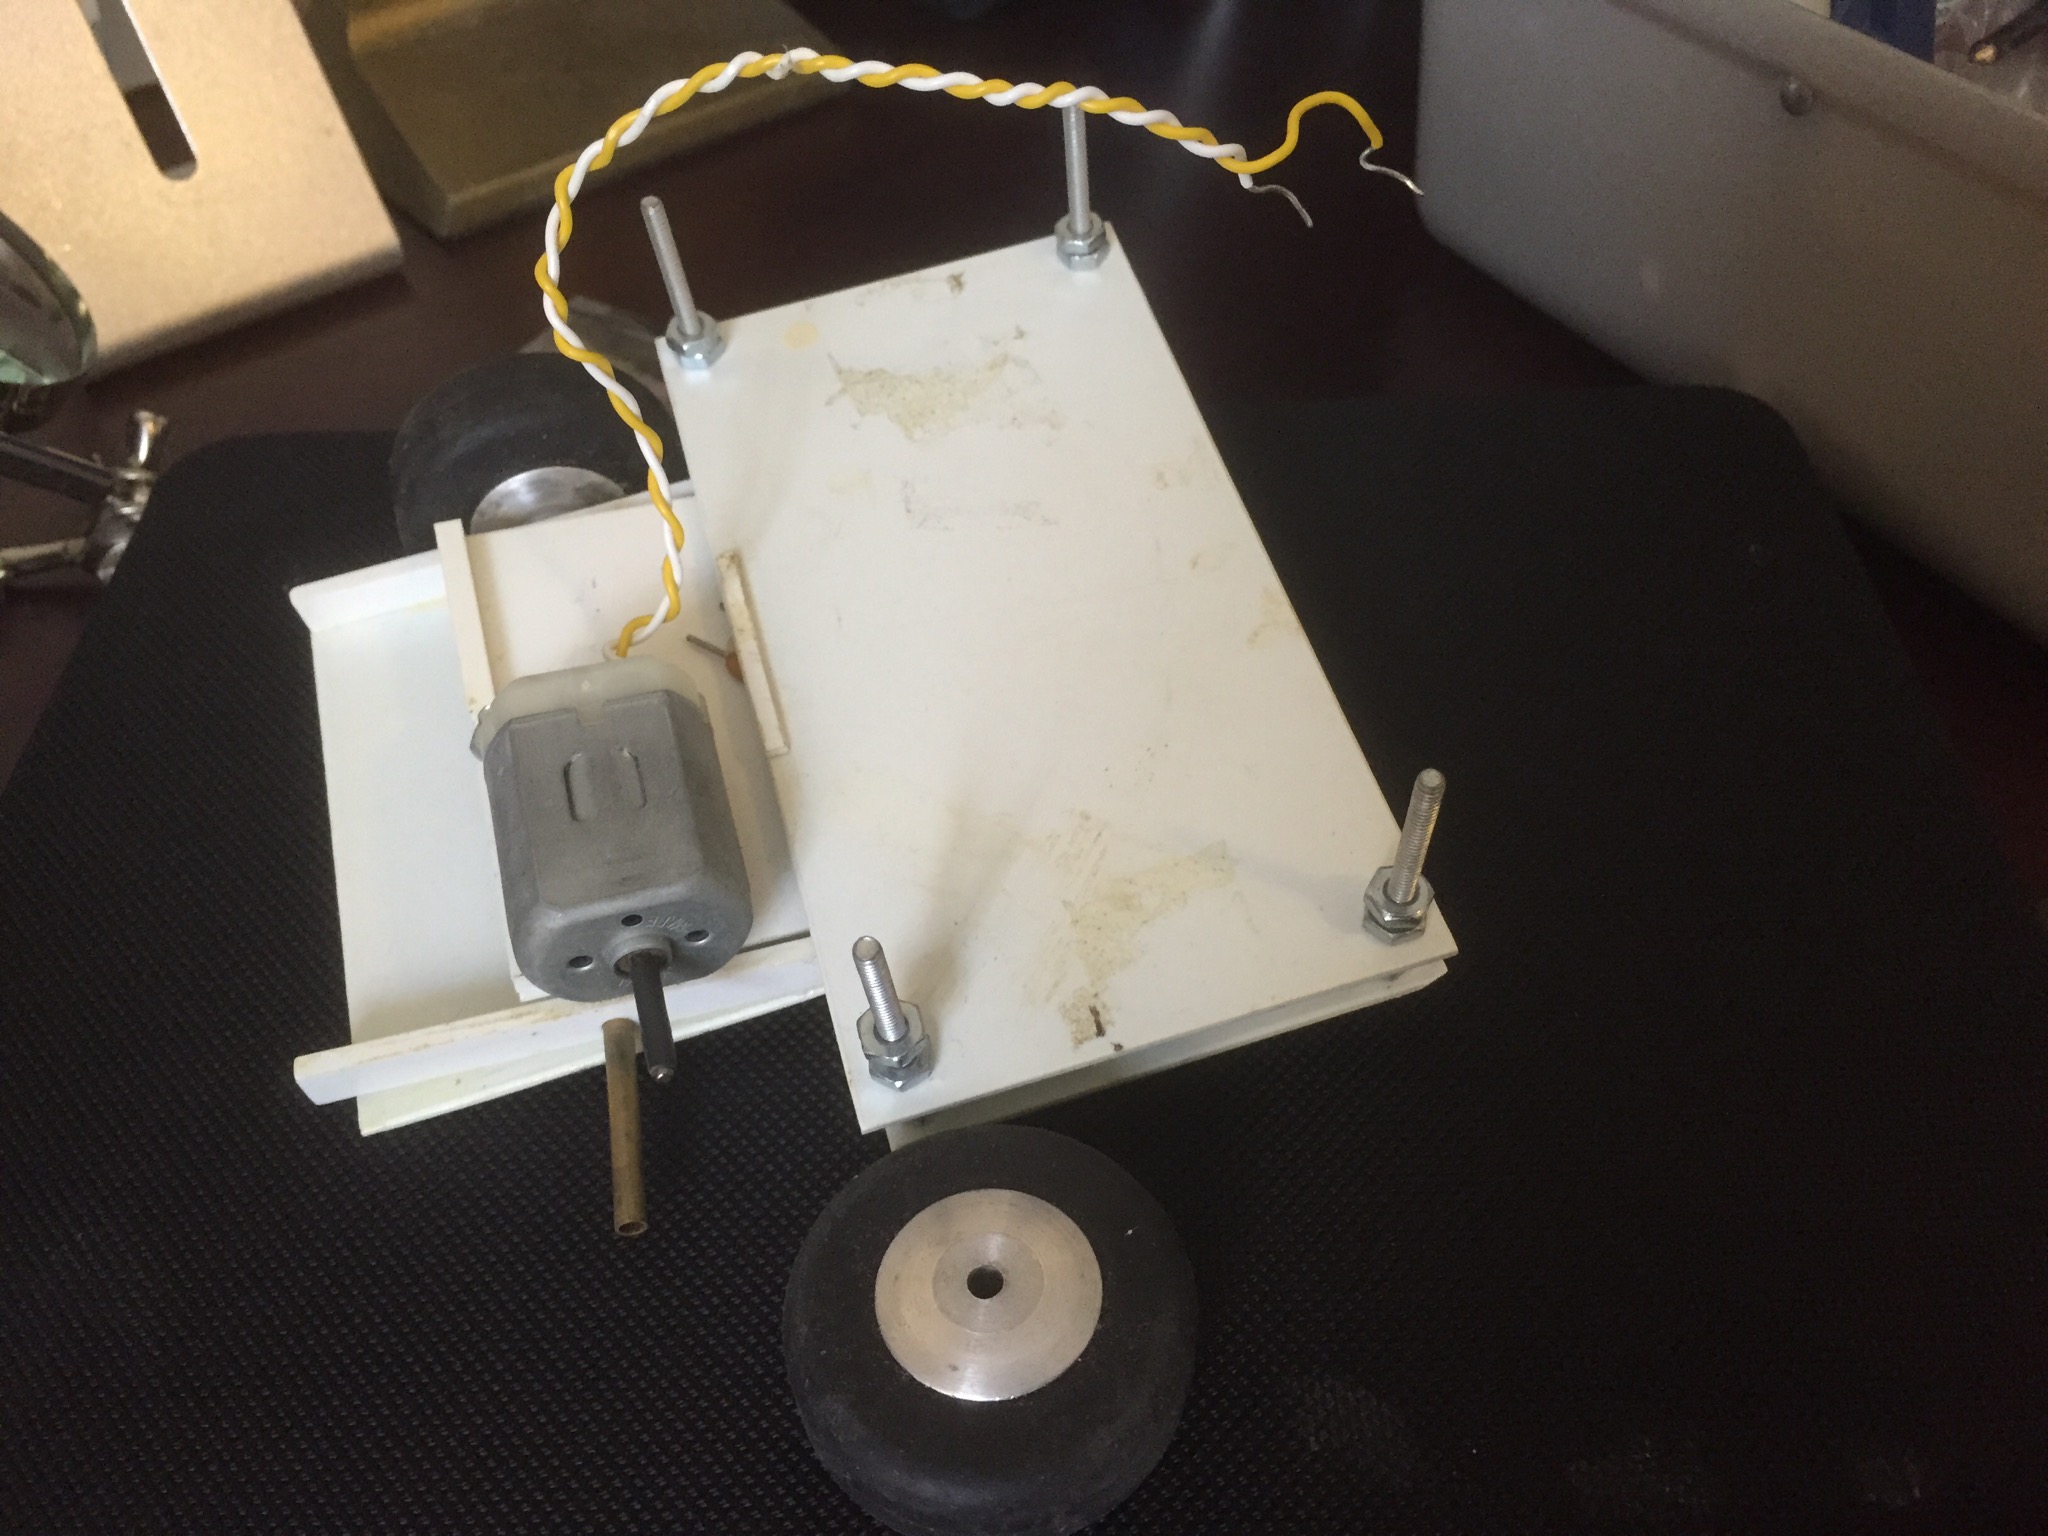
Yeah, that robot use to follow a black line on a white piece of paper… oh the old days.
Anyways … focus on topic… so getting the parts was only the first step. Getting back in to it took a little bit of time, but it is like riding a bike, I picked it up pretty quickly.
So in the next series of blog post, I will try to go through my steps and hopefully this will help others that are trying to set up a Moteino project.
I found this Griff’s[2] intro to Moteino to be very helpful so take a look. I will try not to repeat what was there, but I will highlight few things that helped me.
http://w5vwp.com/moteino.shtml
STEP 1: Setup your soft environment
The first thing, before you began to build and test is to setup your lab environment. You will need to set it up so that you can easily push your arduino/moteino programs on to your actual controller chip. BTW the simple arduio program is called a sketch.
First set up your USB port. since I am using my macbook pro, I needed to install the usb drivers for the FTDI adapter to connect to the moteino.
The drivers are located here: http://www.ftdichip.com/Drivers/VCP.htm
The details on the FTDI adapter can be found here:
https://lowpowerlab.com/shop/index.php?_route_=FTDI-Adapter
and also here:
http://lowpowerlab.com/moteino/
This link above also provides alot of details on Moteinos [3].
There are two ways you can load a sketch into a Moteino.
1) Use the Arduino Integrated Development Environment (IDE)
You can download it here: http://arduino.cc/en/Main/Software. The set the IDE to Arduino Uno and you should be good to go.
There are also lots of information and examples on the arduino website about sketches and how to write sketches. Take a look at them here: http://arduino.cc/en/guide/Environment. Please note that the Moteino’s pin outs are different than the Arduino Uno so the you will need to change it if you are using the built in examples. (e.g. the moteino onboard LED is on pin 9 vs pin 13 on Uno).
CAUTION: I am using a macbook pro as my computer interface environment, I am running OSX 10.10. I ran into few problems setting the Arduino IDE up.
First, the IDE is a java program and it needed an older version of java which OSX doesn’t have, so download it from Apple support here: http://support.apple.com/kb/DL1572.
Second, I was not able to upload my sketch right after I installed the USB driver and the Java, because it was saying the serial port is already in use. You will need to do the following at the command prompt and that should fix it. Oh and 777 is pretty insecure, so use at your own risk.
$ sudo mkdir /var/lock
$ sudo chmod 777 /var/lock
2) Use codebender.cc
Codebender is one of the coolest things, it is almost as cool as Bender R. Rodriguez. Code bender allows you to store and code your sketches (Arduino program) on their website. With a use of a browser plugin, it allows you to connect to your hardware controller (Moteino or Arduino or others) and upload your code. It is super fast and fantastic. I was able to set everything up with in minutes and best of all you can share your code with others or use others code. It’s super easy.
So during my initial setup to make the build in blinky led blink, I was able to set it up on codebender and under 5 minutes from pluging in the Moteino into my macbook pro usb port and sign up for an account and push the code down. it is pretty nifty and I did not run into any java or permissions problems like I did with the IDE.
STEP 2: Setup your physical environment
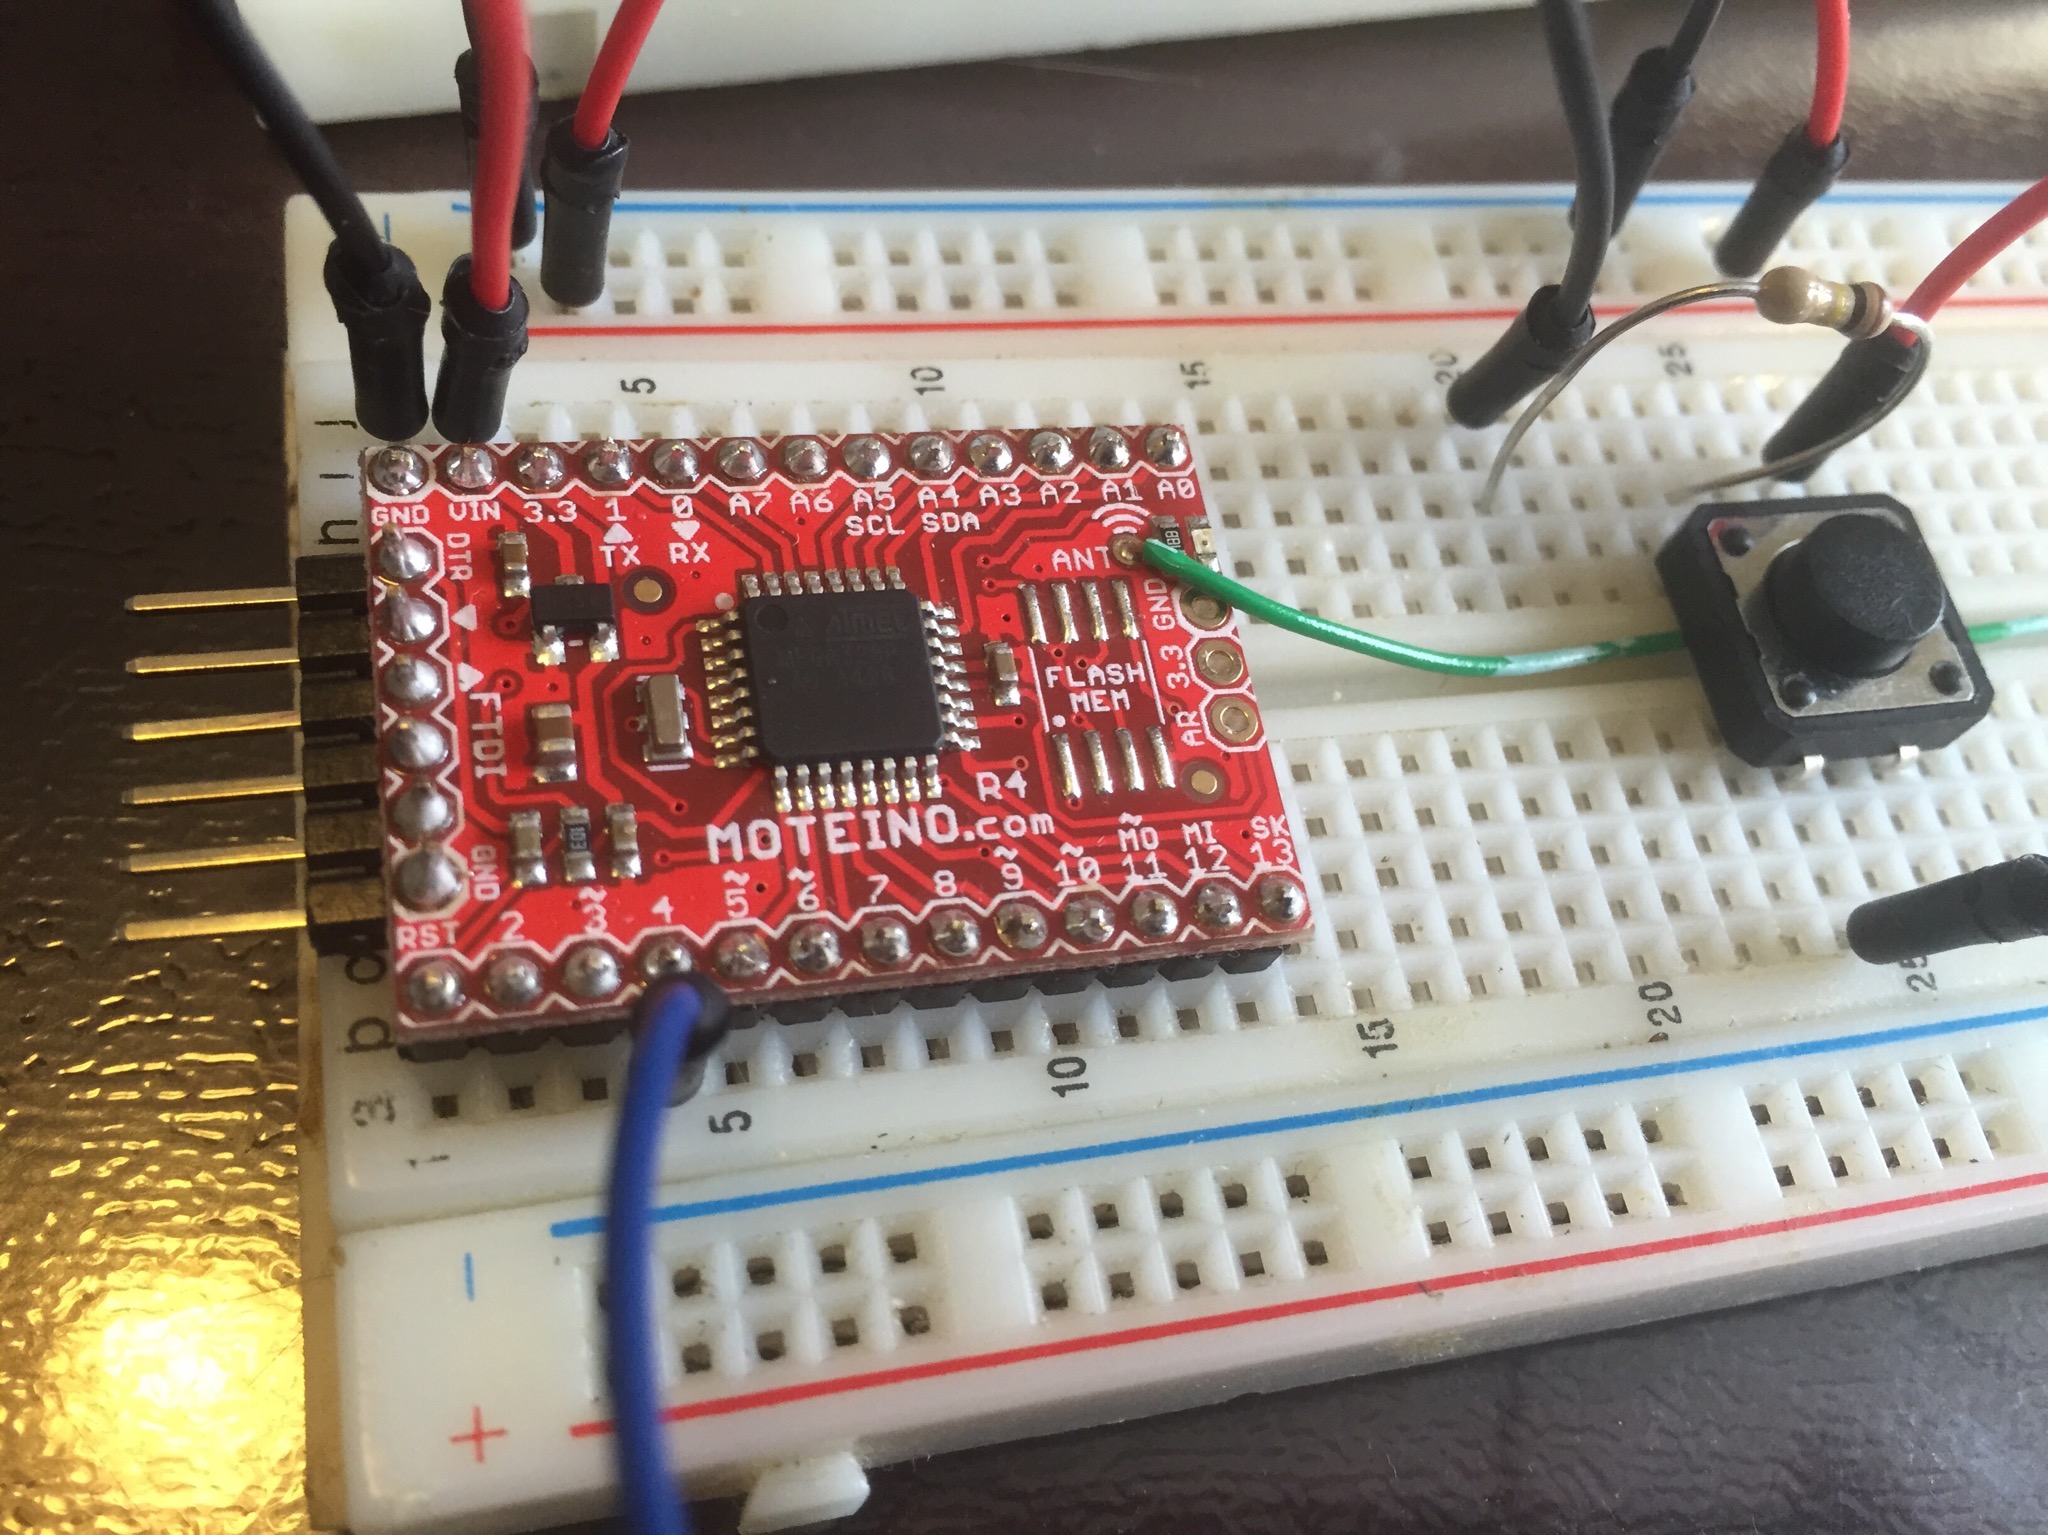
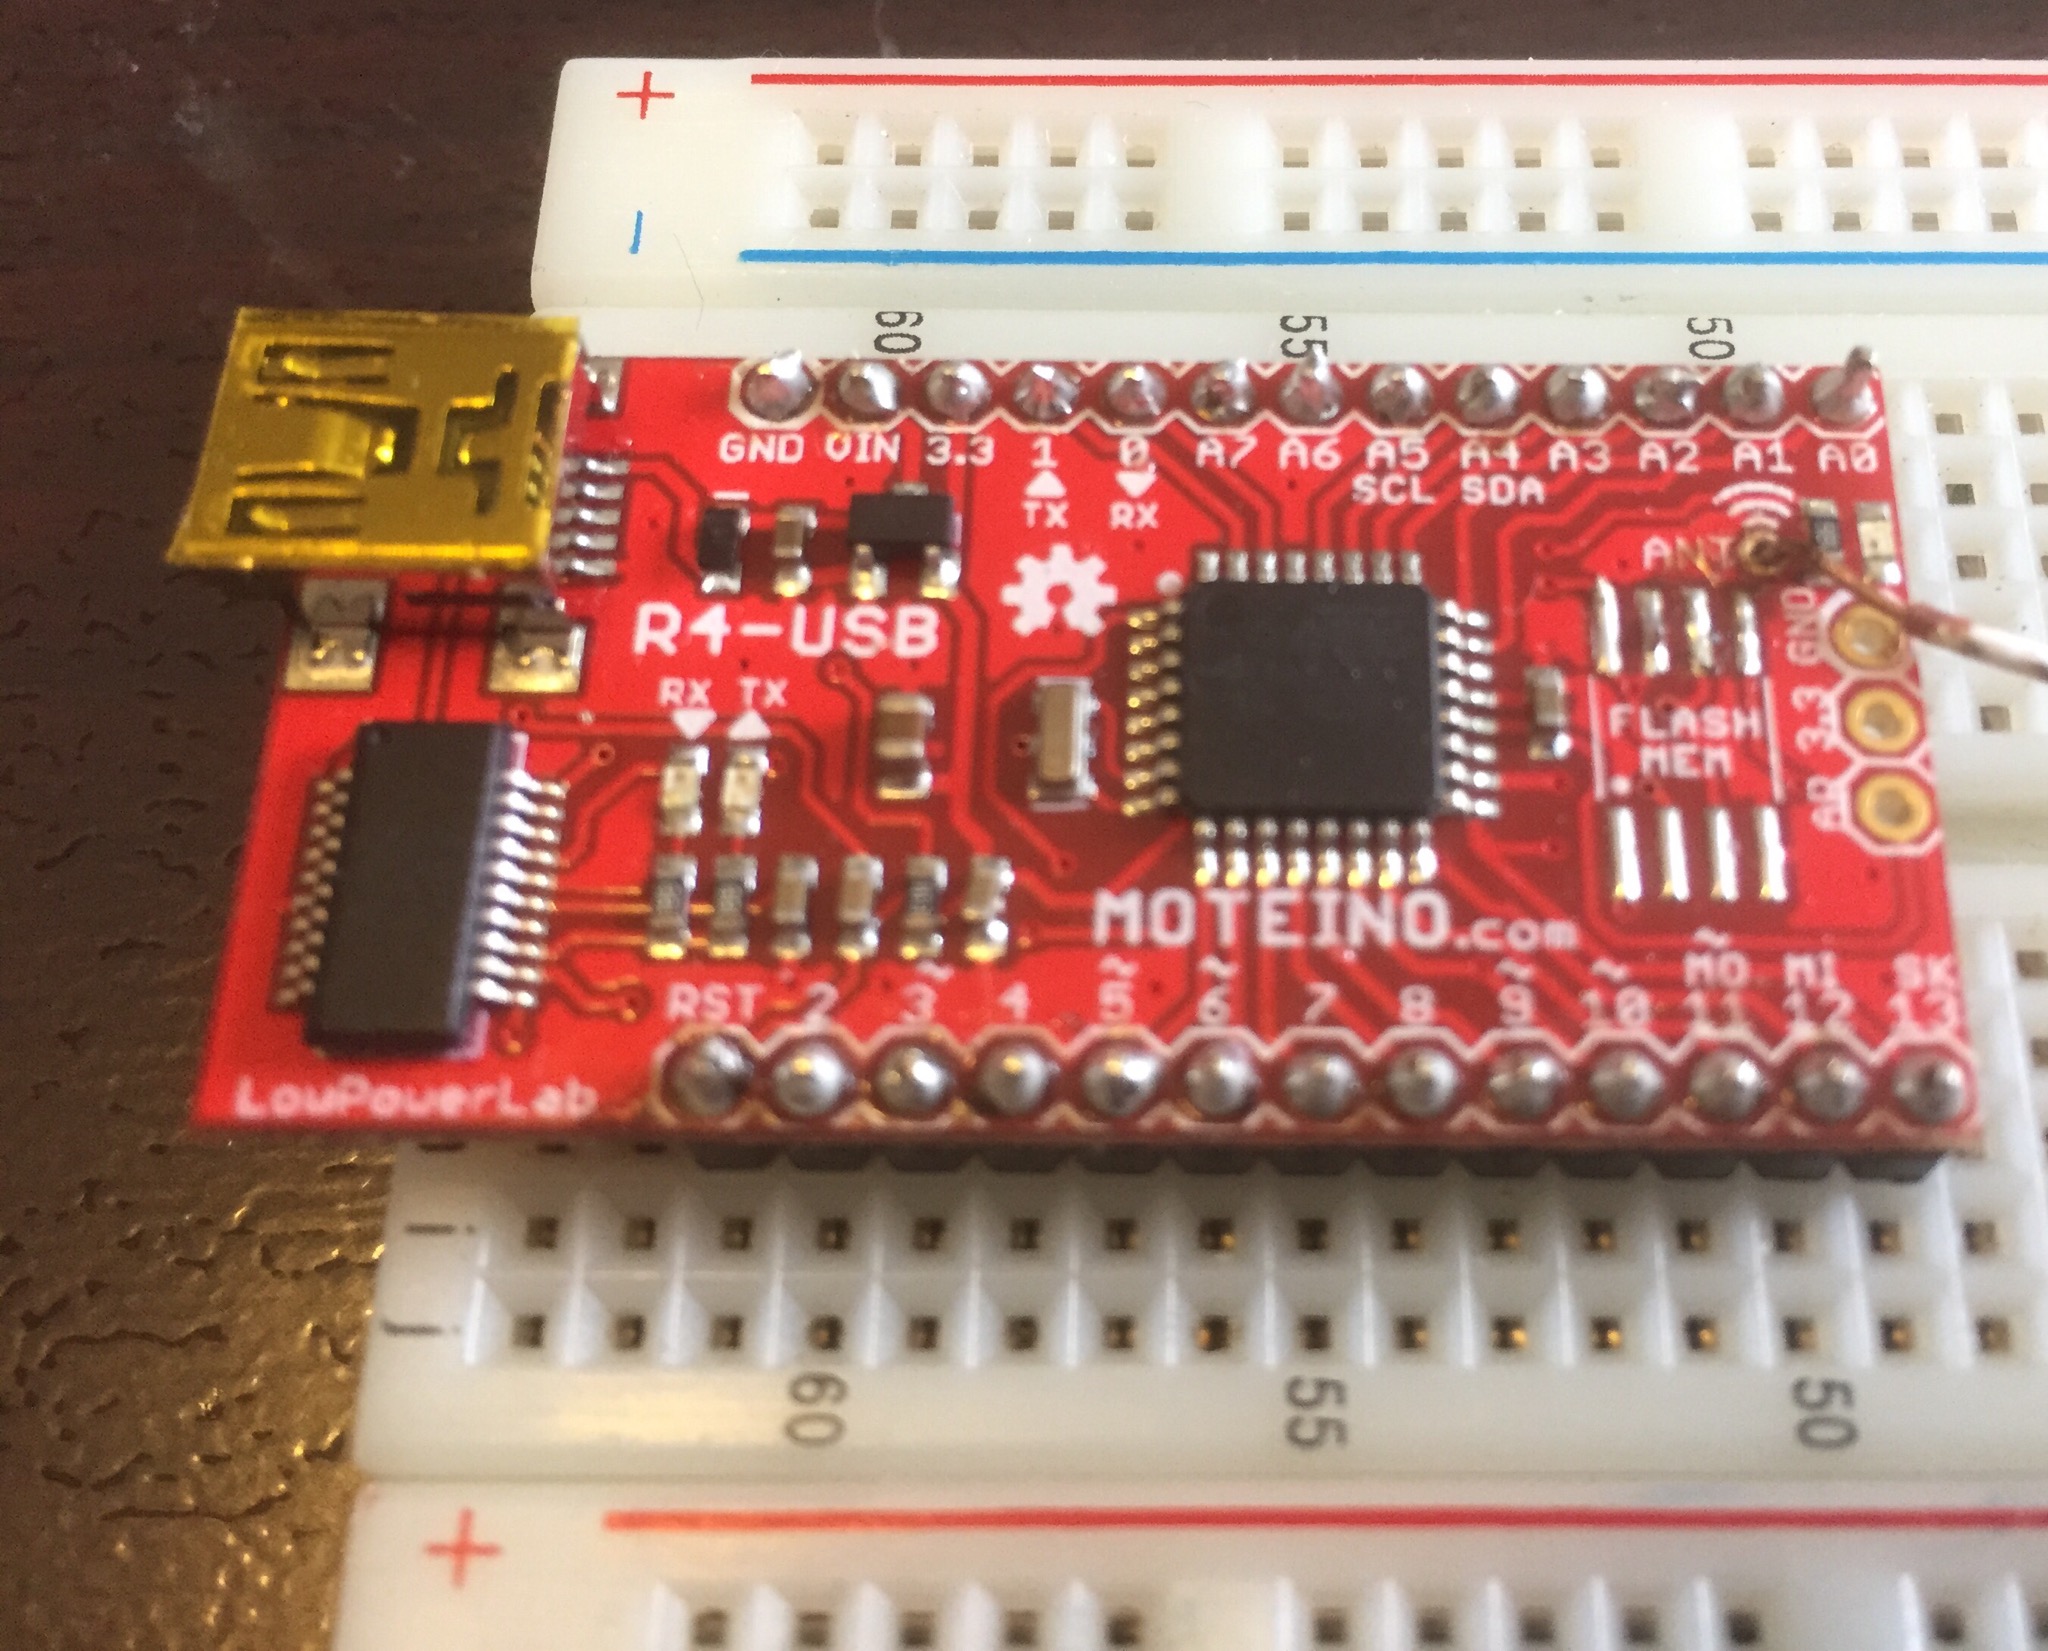
Once you got blink (blink sketch to blink the onboard LED) to work on your moteino, you are ready for the next step, setting up your physical environment. For me, I got two motenios so I can have a node and a gateway. The gateway is the moteino that is located at base and the node is the motenio that will be out at remote. To model this easily, I am using two breadboards. the Moteinos do not come with headers solders on, so I will need to do that myself. Like I stated earlier, its been over 15 years since I solder things on PC boards. I took my 15 year old soldering iron out and went to work. After about 10 bad solders/cold solders, I finally remember how to solder.
How I found it to be the easiest to solder the headers on is to put the header on the bread board and place the moteino over it in place. This way it will not move. When soldering, have the soldering iron on the outside facing in and the soldering on the inside toward the pins. Once the soldering iron is hot and ready, bring it in close to the pin and run the solder by it and lift up. The solder will melt as soon as it touches the iron and bubble around the pin and when lifted up, it creates a good clean solder. Give it couple of try and you should be able to get the hang of it.
So this is the result of my work.
CAUTION: Be careful when soldering, you don’t want to accidentally melt and remove any components that is on the moteino board. Also be careful when soldering in on the antenna.
I will continue my progress in part 2.
Ref:
[1] Low power lab Mailbox Notifier: http://lowpowerlab.com/blog/2013/03/01/mailboxnotifier-moteino-based-mail-event-notifier/
[2] Griff’s Digital Ham Radio Site: http://w5vwp.com/moteino.shtml
[3] Low Power Lab All About Moteino: http://lowpowerlab.com/moteino/